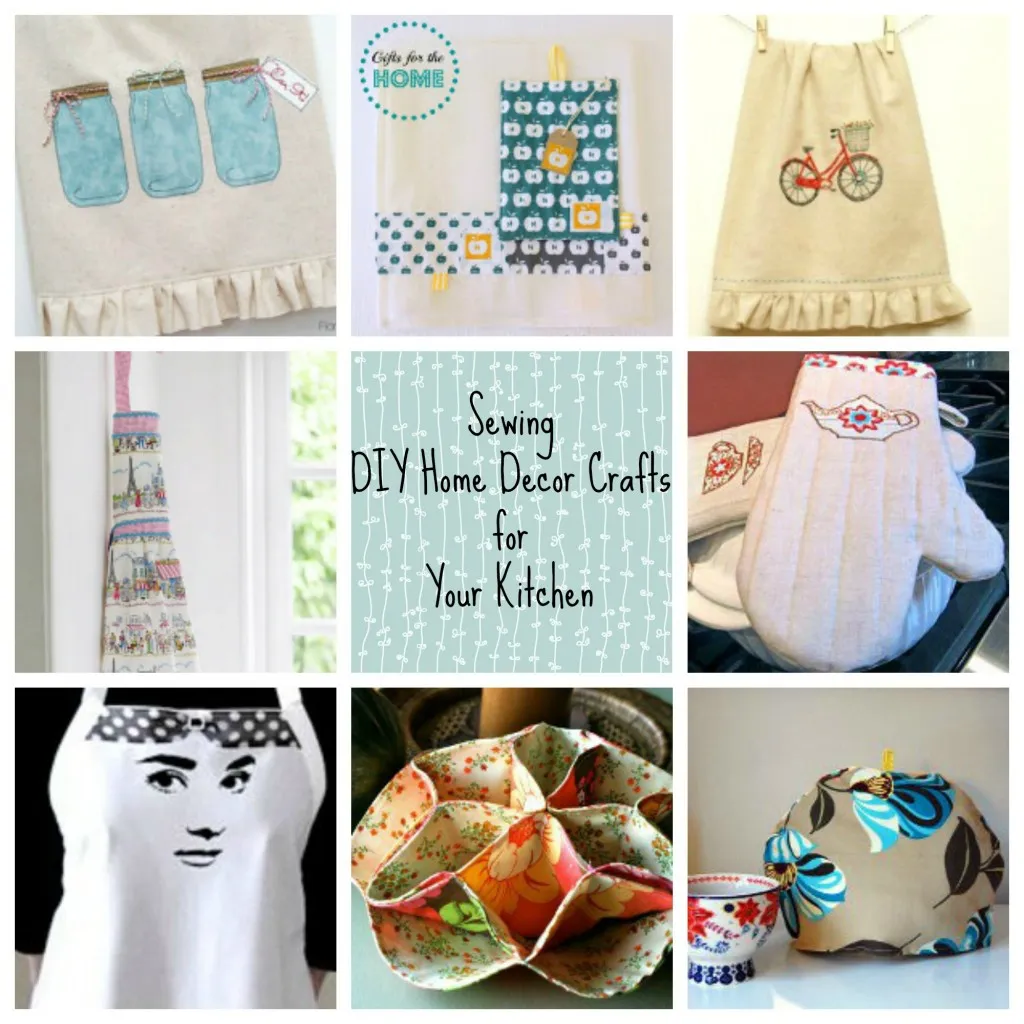
DIY Kitchen Decor Crafts Top 7 Ideas
Transforming your kitchen into a stylish and personalized space doesn’t require breaking the bank. With a little creativity and some DIY kitchen decor crafts, you can revamp your cooking area, adding a touch of your unique personality. These projects are not only fun to make but also offer a rewarding experience, letting you admire your handiwork every day. From charming painted mason jars to practical and pretty chalkboard labels, here are seven DIY kitchen decor ideas to inspire your next crafting session and elevate your kitchen’s aesthetic.
1. DIY Kitchen Decor Crafts: Painted Mason Jars
Painted mason jars are a versatile and charming addition to any kitchen. They can serve as vases for flowers, utensil holders, or storage containers for dry goods. The best part is, this DIY project is incredibly customizable. You can match the colors to your kitchen decor, add patterns, or use different paint techniques for varied effects. The simple elegance of painted mason jars makes them a perfect craft for beginners and a delightful way to add a personal touch to your kitchen.
Materials Needed

To get started, you’ll need mason jars of various sizes, acrylic paint in your chosen colors, paintbrushes (various sizes), painter’s tape (for designs), and a sealant (optional, for durability). Consider adding decorative elements such as twine, ribbons, or stencils for added flair. Make sure to prepare your workspace by covering it with newspaper or a protective sheet. This ensures your crafting experience is both enjoyable and mess-free, allowing you to fully immerse yourself in the creative process of decorating your kitchen.
Step-by-Step Instructions
Begin by cleaning and drying the mason jars thoroughly. If you’re using painter’s tape for designs, apply it to the jars before painting. Next, apply the acrylic paint in thin, even coats, allowing each coat to dry before applying the next. Depending on the paint’s coverage, you may need two or three coats. Once the paint is dry, carefully remove the painter’s tape if used. Add any decorative elements you desire, and finally, if you choose to use a sealant, apply it according to the manufacturer’s instructions. Allow everything to dry completely before placing the jars in your kitchen.
2. DIY Kitchen Decor Crafts: Chalkboard Labels
Chalkboard labels are a practical and stylish way to organize your kitchen storage. They are perfect for labeling jars, containers, and canisters, making it easy to identify ingredients and food items. Chalkboard labels not only add a touch of rustic charm but also allow for easy customization. You can change the labels as needed, whether you’re restocking spices, reorganizing your pantry, or simply updating your kitchen’s look. This DIY project is an excellent way to bring both order and creativity to your kitchen.
Creating Chalkboard Labels

To create chalkboard labels, you’ll need chalkboard sticker paper or chalkboard paint, scissors or a cutting machine, and chalk or a chalk marker. For sticker paper, cut out the labels in the shapes and sizes you desire. If using chalkboard paint, apply it to surfaces like tags or wooden labels. Ensure the paint or stickers are completely dry before writing on them. This project allows you to customize the size and shape of your labels, ensuring they perfectly fit your containers and complement your kitchen’s aesthetic.
Labeling Your Kitchen
Once your chalkboard labels are ready, adhere them to your jars, containers, and canisters. Use chalk or a chalk marker to write the contents of each container. For a neat appearance, use a stencil or ruler to guide your writing. These labels are reusable; simply wipe them clean with a damp cloth and rewrite as needed. Consider using different fonts and sizes for added visual interest. Chalkboard labels are a fantastic way to bring organization and creativity together in your kitchen.
3. DIY Kitchen Decor Crafts: Rustic Wooden Signs
Rustic wooden signs add a warm, inviting touch to any kitchen. They can feature inspirational quotes, funny sayings, or even the names of your favorite recipes. Wooden signs are customizable, allowing you to match your kitchen’s style or showcase your personal interests. This project is an excellent way to add a touch of character and charm to your kitchen, making it feel more like home. The natural texture of wood complements various decor styles, from farmhouse to modern.
Gathering Supplies

To create rustic wooden signs, you’ll need wooden planks or reclaimed wood, sandpaper, stencils or a Cricut machine, paint or wood stain, a paintbrush or sponge, and any additional decorative elements like twine or hooks. Consider the size and shape of your signs and the message you want to convey. Make sure your supplies are safe and suitable for kitchen use. This includes using food-safe stains and paints if your sign will come into contact with food. Prepare your workspace with drop cloths to protect surfaces.
Crafting Wooden Signs
Start by sanding your wooden planks to ensure a smooth surface. Apply wood stain or paint, and let it dry completely. Use stencils or freehand paint your chosen message onto the wood. Alternatively, if you have a Cricut machine, you can create vinyl stencils for a more professional look. Once the paint is dry, you can add decorative elements such as twine for hanging or hooks to display kitchen utensils. The finishing touches, such as distressing the edges or adding a sealant, will contribute to the rustic appeal of your wooden signs, enhancing your kitchen’s character.
4. DIY Kitchen Decor Crafts: Herb Garden
A DIY herb garden brings fresh, fragrant herbs directly into your kitchen, enhancing both your cooking and your decor. It’s a practical and aesthetically pleasing addition that allows you to easily access fresh herbs for your culinary creations. Whether you choose a small indoor herb garden on a windowsill or a larger setup, this DIY project adds a touch of nature to your kitchen, infusing it with life and freshness. The aromatic herbs not only elevate your dishes but also create a pleasant sensory experience.
Selecting Herbs

Choose herbs that you enjoy cooking with and that thrive indoors. Popular choices include basil, mint, parsley, chives, rosemary, and thyme. Research the specific needs of each herb, such as sunlight requirements and watering frequency. Consider the size of your available space and the number of herbs you want to grow. For a small indoor herb garden, consider a windowsill, while a larger garden might require a dedicated space. Selecting the right herbs sets the foundation for a flourishing and rewarding DIY project.
Building a Herb Garden
You can use various containers for your herb garden, such as terracotta pots, repurposed containers, or even a vertical garden structure. Ensure your containers have drainage holes to prevent overwatering. Fill the containers with a well-draining potting mix. Plant your herbs, spacing them appropriately to allow for growth. Water your herbs regularly, providing the right amount of sunlight for each variety. Place your herb garden in a location where you can easily access it for cooking, ensuring your kitchen is always enriched with fresh flavors.
5. DIY Kitchen Decor Crafts: Kitchen Utensil Holder
A functional and attractive kitchen utensil holder keeps your cooking tools organized and within easy reach. This DIY project combines practicality with aesthetics, allowing you to create a customized holder that complements your kitchen decor. Whether you opt for a rustic wooden design or a modern, sleek style, a utensil holder is a valuable addition to any kitchen. It helps keep your countertops tidy and ensures you always have your essential tools at your fingertips.
Choosing Materials

Consider the overall aesthetic of your kitchen when choosing materials for your utensil holder. Options include ceramic pots, mason jars, wooden boxes, or even repurposed containers. Select materials that are durable and easy to clean. You may want to use paint, stain, or decorative paper to personalize the holder to match your kitchen’s decor. Don’t hesitate to add embellishments like twine, ribbon, or labels to further customize the utensil holder to your liking. Ensure your chosen materials are safe for use in the kitchen.
Constructing the Holder
If you’re using a container like a pot or jar, simply clean and decorate it as desired. If you’re building a holder from scratch, measure, cut, and assemble your materials, following your chosen design. Ensure your holder is stable and able to support the weight of your utensils. Sand any rough edges and apply paint or stain if necessary. Once dry, arrange your cooking utensils in the holder, ensuring they are easily accessible. The result should be both a functional and visually appealing addition to your kitchen.
6. DIY Kitchen Decor Crafts: Decorative Cutting Boards
Decorative cutting boards can serve as both functional kitchen tools and attractive decor elements. They can be displayed on countertops, leaned against backsplashes, or even hung on walls. This DIY project offers a creative opportunity to personalize your kitchen with unique and stylish cutting boards that reflect your taste. Whether you choose a rustic wooden board or a modern design, decorative cutting boards add a touch of elegance and functionality to your kitchen space.
Finding Cutting Boards

You can use new or vintage cutting boards for your DIY project. Consider different shapes, sizes, and materials, such as wood or bamboo. Look for boards that are in good condition, with smooth surfaces that are easy to clean and maintain. You might find unique cutting boards at thrift stores, antique shops, or online marketplaces. Selecting the right cutting boards provides the foundation for a DIY kitchen decor project that merges practicality with beauty.
Decorating Cutting Boards
You can decorate your cutting boards using various techniques. Consider wood burning for intricate designs, painting with food-safe paints for vibrant colors, or adding stenciled patterns for a professional look. You can also apply decorative paper or fabric to the surface and seal it with a food-safe varnish. When decorating cutting boards, prioritize food safety, making sure that all materials used are non-toxic and appropriate for kitchen use. Allow adequate drying time for all applied decorations and finishes before using the cutting board.
7. DIY Kitchen Decor Crafts: Fabric Covered Canisters
Fabric-covered canisters offer a creative and stylish way to update your kitchen storage. This DIY project allows you to coordinate your storage solutions with your kitchen’s color scheme or decor theme, adding a cohesive and personalized look. Whether you choose patterns or solids, fabric-covered canisters bring both functionality and aesthetic appeal to your kitchen. These canisters are great for storing pantry staples like flour, sugar, and pasta, making your kitchen organized and attractive.
Choosing Fabrics
Select fabrics that complement your kitchen’s existing decor. Consider patterns, colors, and textures that create a cohesive look. Cotton fabrics are a popular choice due to their versatility and ease of use. You can also use burlap or other textured materials to add visual interest. Ensure the fabric is washable and durable, especially if the canisters will be used frequently. Think about how the fabric’s design will translate onto the shape of the canister, ensuring it enhances your kitchen’s aesthetic.
Covering the Canisters
Measure your canisters and cut the fabric accordingly, leaving extra for overlap. Use fabric glue, double-sided tape, or Mod Podge to adhere the fabric to the canister. Ensure the fabric is smooth, with no air bubbles or wrinkles. Trim any excess fabric and secure the edges. For a polished look, consider adding trim or ribbons. The final result should be an attractive and functional storage solution that adds personality to your kitchen. Once the glue is dry, your fabric-covered canisters are ready to use.
Conclusion
DIY kitchen decor crafts offer a wonderful opportunity to enhance your cooking space while expressing your creativity. The seven ideas explored in this article—painted mason jars, chalkboard labels, rustic wooden signs, herb gardens, kitchen utensil holders, decorative cutting boards, and fabric-covered canisters—provide a range of projects to suit various tastes and skill levels. By incorporating these DIY ideas, you can create a more functional, stylish, and personalized kitchen, making it a welcoming and inspiring space to cook, dine, and gather. Embrace these crafts, and watch your kitchen transform into a reflection of your unique style and personality.